
Knitting hacks with stitch markers

I love stitch markers - especially the fancy ones. They're like jewelry for my knitting. They're also tremendously useful in your knitting life and will help you knit better whether you're a beginner or a pro. Here are some of my favorite knitting hacks using both fixed ring and locking stitch markers
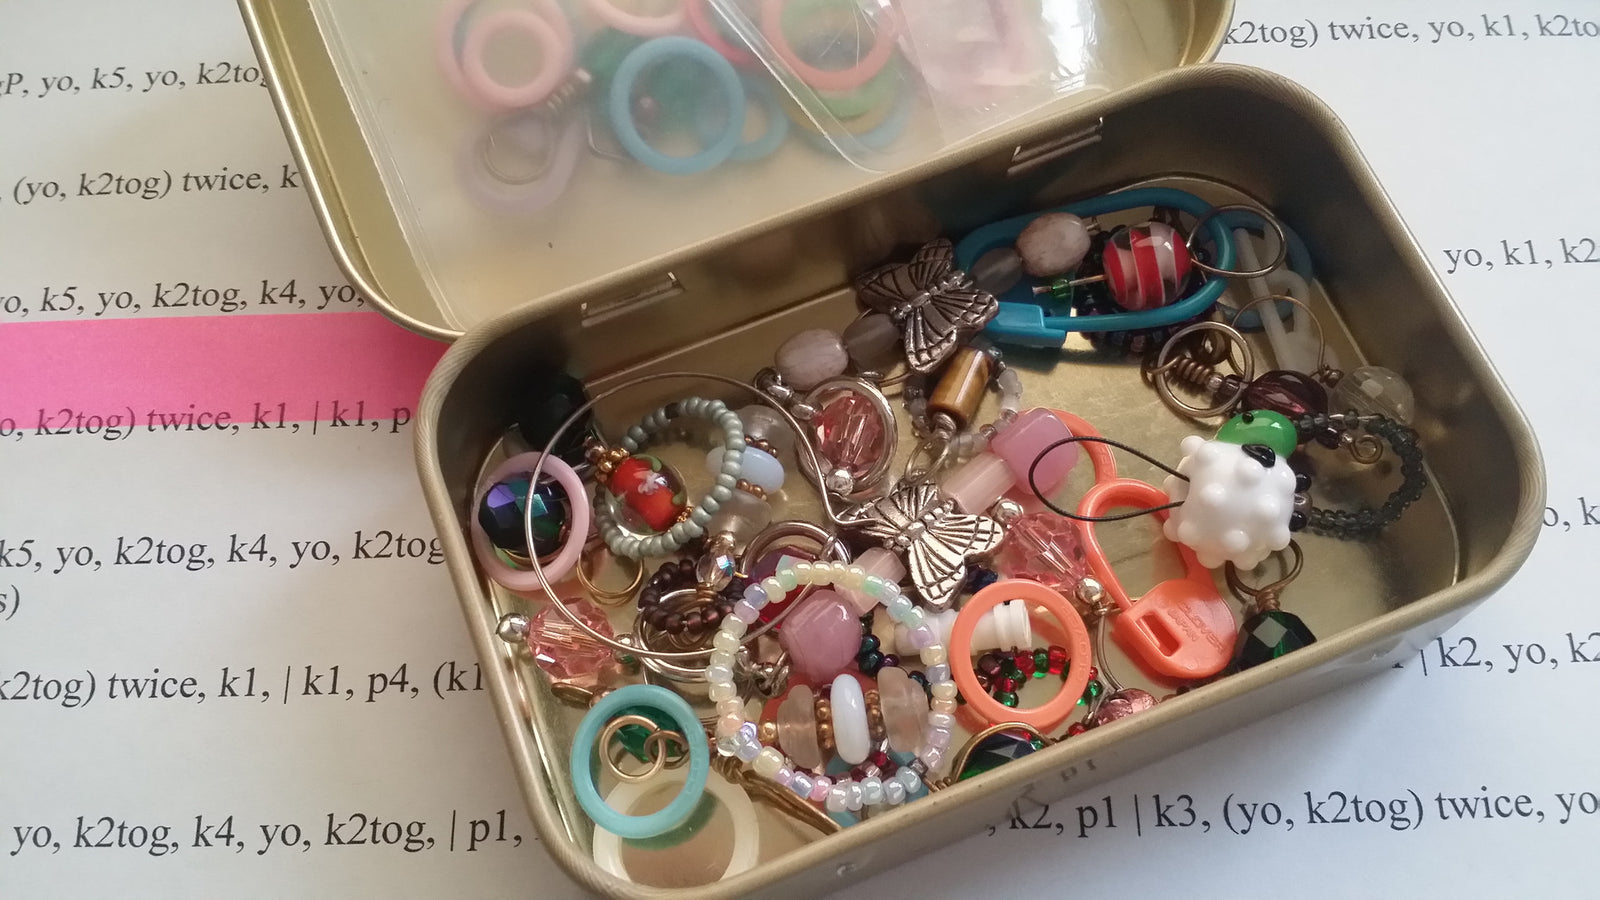
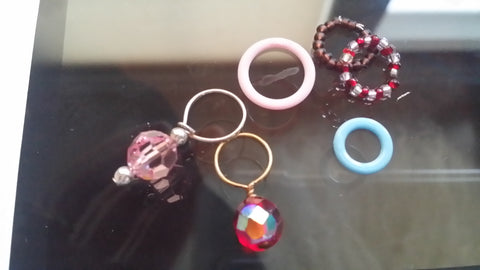
Fixed ring markers - these are the ones that don't open and close. They might look as simple as tiny washers or they might be beautiful beaded adornments for your needles.
Either way, they function the same way - they live on your needle and are slipped from left needle to right needle as you come to them in your work. Here are some ways they will help you:
-
Count cast on stitches -

Casting on 100, 200, or more stitches can make you crazy - not because it's hard to cast on, but because counting the cast on stitches is a pain. So grab a pile of stitch markers and insert one every 50, 25, or 10 stitches you cast on. It will help ensure you cast on the right number and keep you sane while you double check. If you lose count along the way, you need only go back to the last marker and begin again.
- Indicate borders - If you're doing a project with a few border stitches at the end or beginning of the row (or both), place a stitch marker between those stitches and the main section of your project. It seems like a no-brainer to remember to work those first and last stitches in garter stitch, but trust me, when you get moving on a pattern, it's easy to forget. Just put in the stitch markers and let them remind you every row where a change is coming.
-
Separate pattern repeats
 - If you have a pattern of more than 4 stitches that repeats across the row, insert a stitch marker between every repeat. When you get to the stitch marker you'll either be at the end of a repeat, or you'll know know right away you've made a mistake. Way better to know there's a mistake in your second pattern repeat at the end of that repeat than it is to find out at the end of your 130-stitch row.

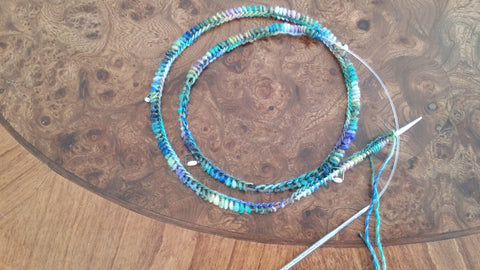
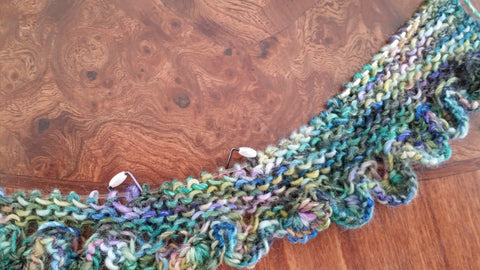
- Mark short row turning points
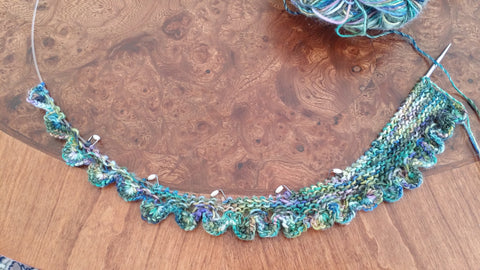
It can be tricky to see your wraps when you're working short rows. Even if you're an accomplished knitter, wraps can be hard to see, and looking for them really slows you down,. After you've made a wrap and turned your work around to begin your short row, place a stitch marker on your right hand needle. Then when the pattern says, "Work to 3 stitches before your last wrapped stitch, you'll be able to see where you should be. Here's a close-up of the wrapped stitch by the marker.
- Track shaping - When you begin a project that has symmetrical shaping, such as a sweater body, sleeves, or a triangular scarf, place a stitch marker on the needle at the center of your stitches. If there is an even number of stitches, the marker will go between two stitches. If you have an odd number of stitches, you'll place a marker on either side of the center stitch. If, As you go about your increases and decreases, you find that you don't have the correct number of stitches, you can see which side of your work has too many or too few stitches and know where your mistake was made.
Locking stitch markers look like coil-less safety pins. Unlike fixed ring markers, which live on your needles, locking stitch markers live on your fabric. You insert them into a stitch or a couple of stitches to tell you something about the fabric. Here are a few ways to use them

- Mark the right side of your work. In fabrics that look the same on both sides, such as garter stitch, seed stitch, and ribbing, you need to know which is the right side so that you can do your shaping as instructed. If you ever knit a Baby Surprise Jacket, or anything else by Elizabeth Zimmerman, you will thank me.
- Count your rows --
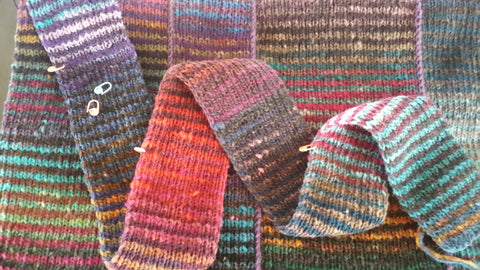
My 64-Crayons afghan has 6 panels of 170 stripes. l add a stitch marker every 50 stripes so I don't have to count them all as I get close to the end.
- Measure sweater armhole depth - place a locking stitch maker near the center of your sweater on the first row of your armhole bind off. When it's time to measure your armhole depth, measure from that stitch marker up - much more accurate than trying to measure at one side or the other.
- Mark your bind offs - if you have trouble identifying how many stitches you have bound off, or there is a large number to be bound off in the middle of a row, a stitch marker will help. Say your pattern says, "Bind off center 20 stitches." You'll indicate those 20 stitches with a stitch marker before and after the 20 stitches. When you get to the first stitch marker, begin your bind off, and continue across the 20 stitches. You'll knit one stitch past the last marker and bind the 20th stitch off over it.
- Track shaping. You can attach a stitch marker to each edge where you make an increase or decrease just to be sure you've done it. This is especially useful with very highly textured yarns that make it difficult to actually see your shaping.
- Catch a dropped stitch - if you see a dropped stitch, you will want to catch it as soon as possible. You'll want to prevent it from going further while you decide how you're going to handle it in your fabric.
- Mark button location on front bands - Measure and mark button placement with stitch markers so you can work your buttonholes to match.