Free shipping on all domestic orders over $150
Free shipping on all domestic orders over $150
Shop
Add description, images, menus and links to your mega menu
A column with no settings can be used as a spacer
Link to your collections, sales and even external links
Add up to five columns
Add description, images, menus and links to your mega menu
A column with no settings can be used as a spacer
Link to your collections, sales and even external links
Add up to five columns

How to Measure Gauge in Ribbing - When the pattern says “Slightly Stretched”
November 03, 2025 4 min read
If you’ve ever knit a sweater or top in ribbing, you’ve probably seen a line like this in the pattern:
“Gauge: 24 stitches and 34 rows = 4 inches in 1x1 ribbing, slightly stretched.”
That little phrase — slightly stretched — is enough to make even experienced knitters sigh. How stretched is “slightly”? And how do you measure something that wants to shrink the minute you take your hands off it?
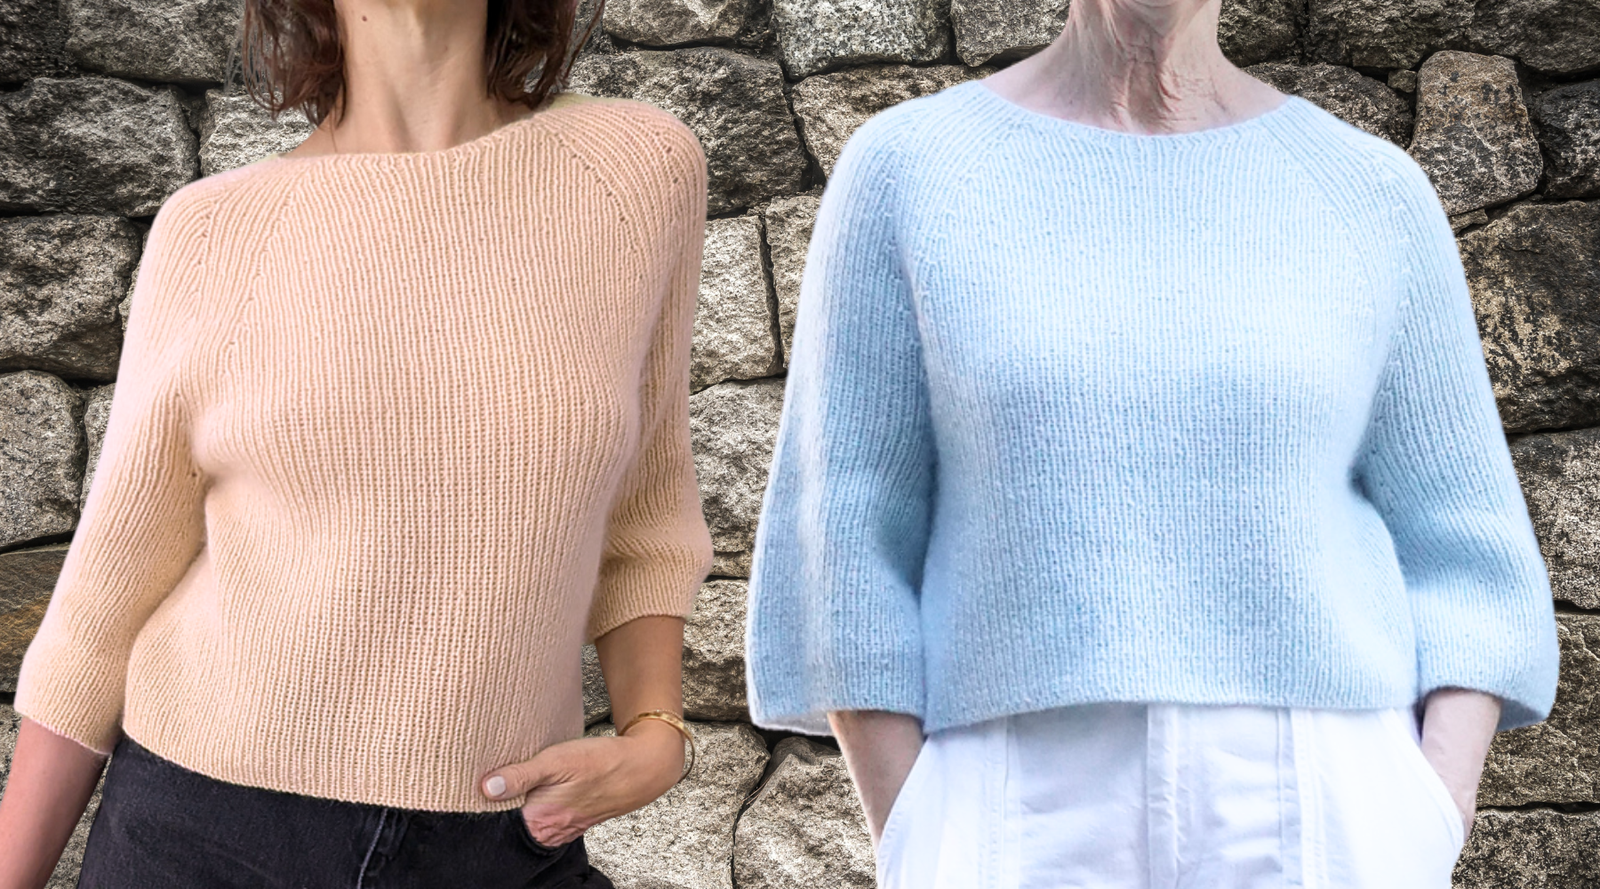
Since our Kiki Knit-Along is starting this week (and Kiki is worked entirely in 1x1 rib), let’s walk through exactly how to measure your ribbing gauge so you can get the fabric and the fit just right — without losing your mind in the process.
Why “Slightly Stretched” is so tricky
Ribbing is naturally elastic — that’s why it hugs the body so nicely. But it also means your gauge can vary a lot depending on how much you stretch it.
The good news? You actually have some flexibility here. The bad news? No one can tell you exactly how much to stretch.
For most ribbed garments, the designer expects you to wear the fabric with a little negative ease — meaning it stretches to fit your body. The easiest way to mimic that effect in your swatch is to pin it out gently, the same way the fabric will stretch when worn. Other ribbed garments, like Kiki, are intended to be blocked out to their final width, so you don’t have negative ease. Either way, the concept is the same.

Kiki swatch before blocking
Step-by-Step: How to Swatch Ribbing for “Slightly Stretched” Gauge
1. Start Your Swatch
- Use the recommended needle size from the pattern.
- Cast on exactly the number of stitches you should have in 4 inches, and work exactly the number of rows the gauge calls for.
- Bind off loosely.
- Ideally, your swatch should be slightly smaller than 4 inches wide — somewhere between 2.75" and 3.5" wide and about 4.25"–4.5" tall.
- If your swatch is already 4" or wider before blocking, your stitches are too loose — go down a needle size (or two if you know you knit loosely).
2. Pin and “Stretch” Your Swatch
- Place your dry swatch on a blocking mat or towel.
- Pin one side at the 0" mark on your ruler and gently ease it open to 4 inches wide.
- Pin the opposite edge in place.
- Repeat top and bottom edges, but be careful — you shouldn’t have to pull hard or distort the ribs.
- You’re not stretching the life out of it — you’re just easing the ribs open, the same way your body will when you wear the finished garment.
3. Check the Height
When you stretch the swatch to 4" in width, it will naturally become shorter.
- If, after pinning, your height also measures about 4 inches, your gauge is spot-on.
- If your swatch becomes too short to pin gently to 4 inches tall, it’s too tight — go up a needle size.
- If your swatch is taller than 4 inches when stretched to 4" wide, your fabric is too loose — go down a needle size.
(That last one’s rare, because if it were that loose, you’d have caught it before pinning.)
4. Steam or Wet Block Carefully
I prefer steam blocking ribbed swatches — it’s faster and less risky. Wool, in particular, can stretch a little too much when wet, so steam gives more control.
If you prefer to wet block, that’s fine too — just don’t manhandle it while it’s saturated. Get as much excess water out of the swatch before you pin it. The principle is the same: get your width right, and see if the height follows.

Kiki swatch after blocking
5. TL;DR — The Quick Version
- Knit your swatch slightly smaller than 4".
- Gently pin it to 4" wide.
- If the height is also 4" — you’re on gauge.
- If it’s shorter — go up a needle size.
- If it’s longer — go down a needle size.
Why Ribbing Gauge Matters for Kiki
While the Kiki top is not designed to fit close to the body, the ribbing will naturally pull in, so you’ll need to stretch the final garment to the circumference you want. Here’s something to consider: you don’t have to stretch Kiki out. If you like things to fit close to your body, you can leave the ribbing unblocked for some negative ease. Basically, let your body do the blocking. Your fabric will stretch to your measurements when you wear it.
Either way, getting your ribbing gauge right is essential so you’ll end up with a top that’s flattering, comfortable, and fits you exactly the way you want.
If you’re joining our Kiki Knit-Along, this is the perfect time to swatch. Bring your results to kick-off and we’ll help you troubleshoot and celebrate your perfect gauge.
I can't wait to see you at the KAL and work this fun sweater with you!
Warmly,
Ellen
p.s. here's some more stuff about gauge and the Kiki KAL

