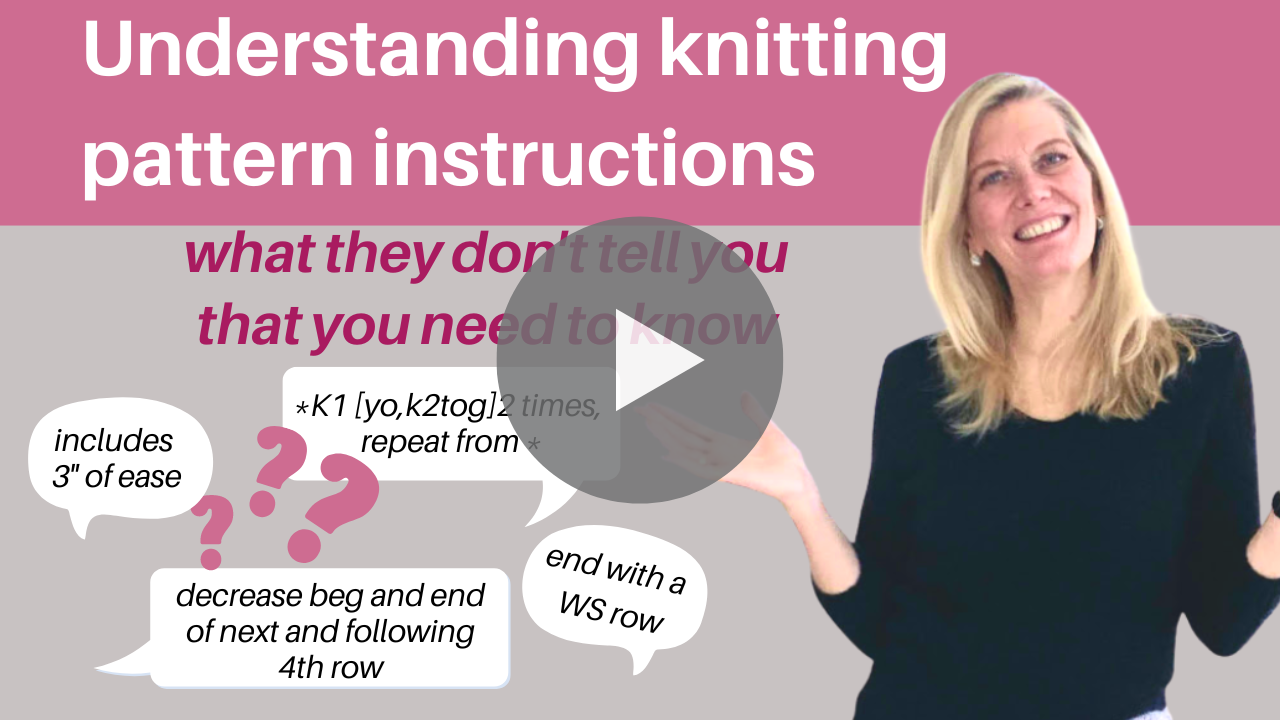

How to read a knitting pattern
Knitting patterns have their own language that can be very confusing. In th is post I’m going to go over some of the knitting pattern language that beginners and more accomplished knitters all struggle to understand and implement. I’m also covering it in more detail in the podcast below.
What is the right side (RS) and Wrong Side (WS) in knitting?
RS is short for Right Side and WS is short for Wrong Side.The Right Side is the side that you intend to wear on the outside for the world to see, while the Wrong Side is the side worn toward your body that no one else will see.
If you’re working in stockinette fabric, the RS is the knit side, and the WS is the purl side. The knit side is the side where the legs of the stitches. It’s the opposite if you’re working in reverse stockinette. If you’re working in a stitch pattern that looks the same on both sides, like garter stitch or seed stitch, you’ll want to designate the right side and the wrong side. Conventionally, your first row is considered the right side of the fabric. In this case, it’s helpful to put a marker on the right side of your work so you know which is which.
What does it mean to end with a WS Row?
First off, When a pattern tells you to end with a RS or WS row, it means to complete that row. So if you’re working in stockinette, and the pattern says to end with a WS row, it means to complete the purl row and be ready to work a knit row.
This instruction is fairly because shaping (making increases and decreases) typically begins on a Right Side row.
What is meant by Left and Right Front in knitting?
As you’re making a garment, the pattern might tell you to work only on the left front or the right front. These terms refer to the left and right front of the garment as worn. If the back of your sweater is lying face up, the back left will be on the left and the back right will be on the right. If you’re looking at the front of the garment, the left front will be on the right and the right front will be on the left.
What does it mean to Slip a Stitch
To slip a stitch means to move it from one needle to the next without working it. We do this to make certain stitch patterns, like linen stitch, and we do it to make decreases like slip slip knit. The confusion happens regarding which way to slip our stitches–knitwise or purlwise
Should you slip stitches knitwise or purlwise?
Whether you slip stitches knitwise or purlwise has nothing at all to do with whether the stitch being slipped is a knit or a purl stitch. The way you slip it depends entirely on how you want your stitches to be oriented (the way they sit on the needle) after they’ve been slipped.
Slip stitches purlwise unless otherwise directed
The default way to slip stitches is purlwise because it maintains the orientation of the stitches. Slipping purlwise is simply transferring stitches from one needle to the other. If the right leg the stitch is over the front of the needle before you slip, then the right leg of the needle will still be over the front of the needle if you slip purlwise.
If you slip a stitch knitwise, you are changing the orientation of the stitch on the needle. Conventionally, stitches sit on the needle with the right leg over the front of the needle and the left leg over the back of the needle. If you insert your right needle into a stitch knitwise and slip it off, your stitch will now be oriented on your needle with the right let in the back and the left leg in the front. The SSK and SSP decreases want you to slip the stitches knitwise because you need the stitches to be seated in the opposite way so that they’re not twisted when you work them together through the back loop
Decrease at beginning and end of row
Despite how it might sound, this instruction does not always mean to knit the first two stitches together and the last two stitches together. Especially not if you’re going to seam the fabric or pick up stitches against it. I usually place my decreases at least one stitch away from the edge of the fabric so I have a nice clean selvage where I can seam my fabric or pick up for a neckline or trim.
Same goes for increases - work them a stitch or two away from the edge of your fabric. If you’re knitting in the round, most designers have you work your increases a stitch or two away from the marker. While there’s no issue with seaming, increases too close together can cause your fabric to pucker a bit.
What does alternate rows mean in knitting?
Alternate rows means every other row. Shaping typically begins on a knit row, so your pattern might tell you to end what a WS row, work a decrease row, and then to do that same increase on alternate rows which means to do the increase on right the right side rows.
What does continue as established or continue as set mean in knitting?
This means just keep doing what you’ve been doing. Typically the pattern will tell you some series of actions, whether it’s to work a decrease every so many rows, or to work a series of knits and purls in a row. They will explain it in the set up row, and then tell you to cont. as est. until something else happens, like you reach a certain length.
What does every other right side row mean in knitting.
This is another way of saying every 4th row. When you do a decrease on your knit side, you can count that row as row 1. Then you will work three more rows for a total of 4 rows and repeat the increase.
Sometimes a pattern will tell you to increase on alternate 4th and 6th row.
Or it might be alternate 6th and 8th row. Patterns written this way have decreases that need ot repeat at odd numbered intervals. For instance every alternate 4th and 6th row means that they actually want the decreases every 5th row but that’s kind of fiddly to explain and can be a little fiddly to execute as a knitter. What you will do is work three rows and do the shaping on the fourth, then work 5 rows and do the shaping on the 6th, then work three rows and shape on the 4th, then 5 rows and shape on the 6th. See you you are alternating the 4th and 6th rows.
How to read a knitting pattern with parentheses
Knitting patterns often use parentheses or brackets as well as asterisks to indicate a set of actions to be repeated a set number of times, or to the end of the row. For instance,K1, (yo,k2tog) 3 times, means “knit one, yo, k2 tog, yo, k2 tog, yo, k2tog” The action inside the parentheses is repeated the number of times indicated after the closed parenthesis.
An Asterisk indicate a set of repeats.
For instance
*K1, (yo,k2tog) repeat from * across the row
Is going to be a very different fabric than
K1 * (yo,k2tog) repeat from * across the row.
In the first example you will repeat the k1 before every yo, k2tog across the row.
In the second example, the K1 happens only at the beginning of the row and is not included in the stitch pattern across the rest of the row.
There are tons more confusing things in knitting patterns, I know. Let me know in the chat what you find confusing
6 Responses


Susan Dyer
January 27, 2023
Great article and very timely for me! I needed to interpret a pattern for a sleeve and with all the size differences and repeats, I was struggling and had set it aside. One read of your article and I’ve got it!! Thanks Ellen!