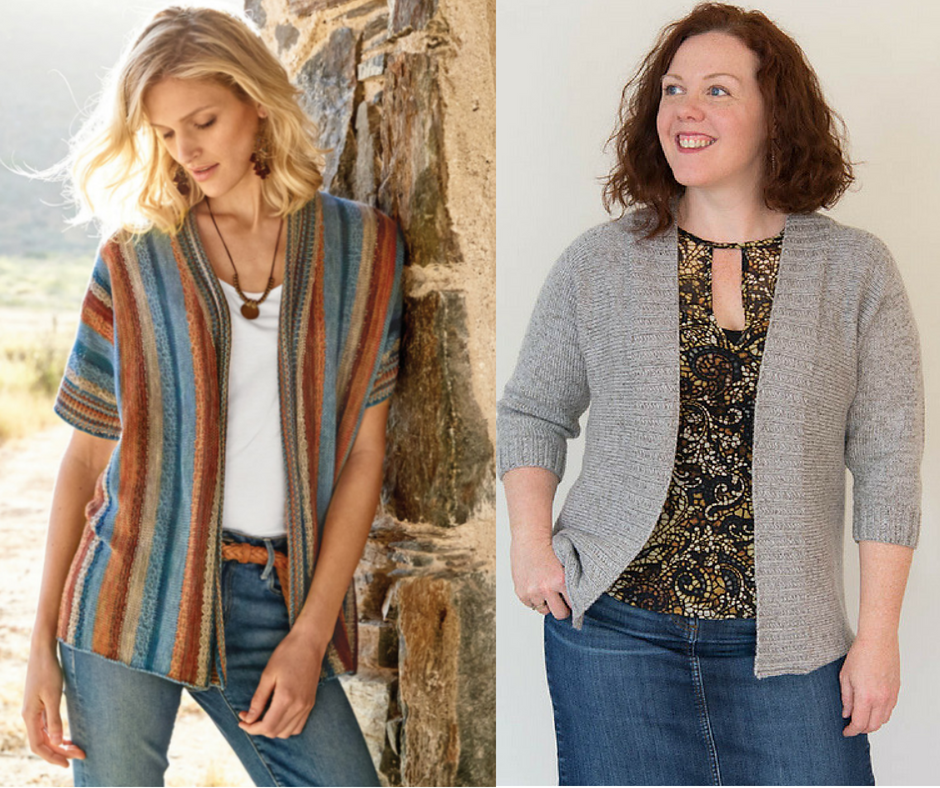

Notes on the Maras lookalike cardigan notes
These are my tweaks to Amy Herzog's Curlew pattern to make it look like the Maras Cardigan. Purchase the Curlew pattern here on Ravelry. Gauge is 21 stitches/4 inches.
I'm shortening the sleeve to 7" and I'm making the length 26", so these instructions will make those mods. If you want a longer/shorter sleeve, you can adjust the number and rate of increases (and decreases at the other side) accordingly.
Ready? Here goes!
Casting on for the left sleeve
Choose your size and circle that size throughout the Curlew pattern. Then on page 2, look at the total number of stitches on your needle after you've completed your sleeve increase. Subtract 12 stitches from that number. That's the number of stitches you'll cast on.
Work in seed stitch for 2" then work in stockinette for 1/2", ending with a wrong side(WS) row
Increase row: Next row, RS, knit one, make one right, knit to last stitch, make one left, knit one,
Work 5 rows in stockinette and repeat increase. Repeat increase every 6 rows 5 more times, for a total of 6 increases. You should now be up to that total number of stitches you identified in the pattern. Work even until sleeve measures 7" ending with a right side row.
Decide how long you want your sweater. The best way to decide on a length is to find a sweater that is the length you love and measure it from shoulder to hem. I am making the third size, and I want it to be 26" which is 2.75" longer than the pattern, so instead of casting on the number of stitches indicated in the pattern, I will cast on more stitches for the back and fronts. Here's how to figure out how many more stitches you'll need:
The pattern gauge is 21 stitches/4 inches, which is 5.25 stitches/inch. So, for every inch longer you want your sweater, you'll need an extra 5.25 stitches. For example, I want my sweater to be 2.75 inches longer, so I multiply 5.25 stitches per inch by 2.75 inches which is 14.4375. Rounding down, I'll need to cast on 14 more stitches than indicated in the pattern.
Casting on for back and left front:
Purl across all stitches and cast on (your number of stitches). Turn and work 5 stitches in seed stitch, place a marker, knit across existing stitches, and cast on (your number of stitches). Turn and work 5 stitches in seed stitch, place a marker, and purl to last 5 stitches, slip marker, and work last 5 stitches in seed stitch. Continue to follow the pattern working in stockinette stitch with a 5-stitch seed stitch border until you've reached the length indicated in your pattern.
After working the sides to the width designated in the pattern, you'll be working only the back stitches.
Count your stitches and write that number down.
Divide that number in half and write that number down.
With RS facing, knit across half the stitches on your needle and put the remaining stitches on hold. The stitches on hold is your left front.
Turn work and work back neck decreases as indicated in the pattern
Then work even in stockinette to the back measurement indicated in the pattern for your size
Work back neck increases as indicated in the pattern.
Break yarn and place those stitches (sweater back) on holder.
Return to your left front stitches. With RS facing cast on back neck trim stitches as indicated in the pattern for your size (remember this number because you will need it for your right front) and knit across previously held left front stitches.
Count your active stitches - this is the total number of stitches in your left front)
Work in seed stitch for length indicated in the pattern for your size. Bind off in pattern. Be sure your bind off is as stretchy as your fabric or it will pucker.
With fresh yarn and a fresh set of needles, you will cast on your entire right front. The number of stitches you cast on will be half your original total number of stitches (written down above) plus the number of stitches you cast on for your back neck trim per the pattern .
Count your stitches. It should be the same as the total number for the left front
Work in seed stitch for length indicated in the pattern (the same length you worked for the left front) ending with a WS row.
With RS facing, bind off back neck trim stitches and knit to the end of the row - remember you're keeping 5 stitches in seed stitch at each end of the work
Purl across right front stitches and then across held back stitches. You will now be all in one again with you original total number of stitches
Work in even in stockinette (keeping 5 stitches in seed) until back measures correct length for your size as indicated in pattern ending with a WS row.
Next RS row, bind off the number of stitches you had cast on for your back after sleeve increases. Knit to end.
Next WS row, bind off the number of stitches you had cast on for your back and purl to end.
You should have the same number of stitches on your needle that you did when you had finished your sleeve increases
Work 6 rows (or the number of rows you worked after final sleeve increase). Work sleeve decreases at the same rate at which you did the increases (every 6th row 6 times)
Work 4 rows in stockinette then switch to seed stitch and work for 2". Bind off in pattern.
3 Responses


Edie Kemp
August 28, 2018
Ellen,
I like the length of 26 inches but would like to keep the sleeves 3/4 length. Do you think I will need more yarn? If I do, can I still get more in the color I ordered? Please let me know.
Thank You,
Edie